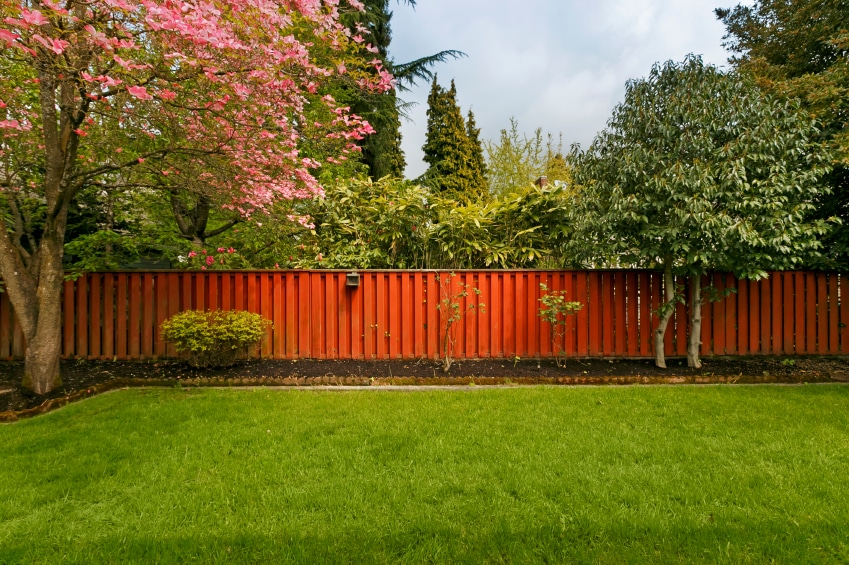
Installing a Colorbond fence can be a simple procedure, as long as you have the right tools and plain instructions. So here are all the things you’ll need and the step-by-step process to help bring down an old fence and install a new Colorbond fence.
What You Will Need to Install a Colorbond Fence
- Rubber Mallet
- Tape Measure
- Spirit Level
- Safety Equipment (ear muffs and goggles)
- Trade Saw Horse
- Grip Bar Clamp
- Tin Snips
- Angle Grinder
- Drill
- Shovel
- String
- Hose
Key Steps to Installing a Colorbond Fence
Step 1: Out With The Old Fence
Before you get started, remove the old fence and check for things like tree roots, pipes, slopes, length and height to make sure the fence line is clear and level.
Step 2: Dig Your Holes
After screwing all but two of the posts together, dig your holes at roughly 600mm deep x 200mm x 200mm at one end and drop one of the end posts in.
Step 3: Install the Bottom Rail
Install the bottom rail by connecting it between the first two posts and ensure it is level. Then use a drill to put a screw in through the post and into the bottom rail to make it secure. After the bottom rail is secure, dig your next hole and drop in your next end post.
Step 4: Half-Fill with Concrete
After the posts and bottom rails are in, use concrete to half-fill each end hole so that the end posts will hold steady and secure while you put the panels in.
Step 5: Installing the First Panel
The first panel is installed by inserting the bottom of the panel near the end post and then pushing it down into the bottom rail (you may need to tip it on an angle here – it can be heavy work so you might need a hand). Then ease the panel back so that it sits flush with the post. Be sure to only install one panel at a time.
Step 6: Inserting the Top Rail
Insert the top rail into the first panel by pushing it between the posts so that it secures the first panel. Slide the corrugations into the top rail, leaving the last corrugation free so the next panel can be attached to it.
Step 7: Inserting Panels one-by-one
To install the rest of the panels, repeat the process of inserting the bottom end of the panel into the bottom rail first, then sliding into the top rail. The first corrugation should overlap with the last corrugation of the panel before it. Move the panel into the bottom rail then secure it by pushing down the top rail.
Step 8: Fastening the Top Rail
To fasten the top rail push them down and connect them by drilling screws through the posts at both ends of the panels. Make sure the top rail is level before you put in any screws.
Step 9: Repeating the Process for all Panels
Continue to repeat the above process for installing the infill panels, top rail and bottom rail across the rest of the panels until the big sections are finished.
Step 10: Infill Panels
You will probably need to cut an infill panel to make things fit. To do this you will need to measure between the two posts and mark the distance at the top and bottom of the panel. Then use a spirit level to draw a line in-between them. After putting on your safety gear, use an angle grinder to cut along that line.
Step 11: Cutting the Rails for Infill Panels
To cut your top and bottom rails you can use the same measurements, angle grinder and safety gear that you used for the infill panel (see step 10) to ensure that the rails and infill panel will match up at the right length.
Step 12: The Last Panel
For the very last panel just place the bottom rail between the posts. After securing it through the familiar process of using a spirit level and then drilling in screws, you can install the final panel and secure it with the top rail. Don’t forget to treat the top rail the same as the bottom by checking that it is level before then securing it with screws.
Step 13: Capping Things Off
To put on the finishing touches, fit the caps to the posts with a simple push. Where there is a half post, just use some tin snips to cut a full cap and then break it in half so that it fits.
Step 14: Finish Concreting
Fully concrete the end posts in, adding water as the holes are filling.
Step 15: Fenced In
If all the steps have been followed, you should be finished and fenced in!
Alternatively, if all this sounds like it might be too tricky, give the Colorbond fencing experts at Everlast a call today. We’re more than happy to pop out, visit your property, and provide a free, no obligation quote.
