Are you looking for ways to upgrade the look of your garden? Why not try making this simple DIY mini pond.
What Is a Mini Pond?
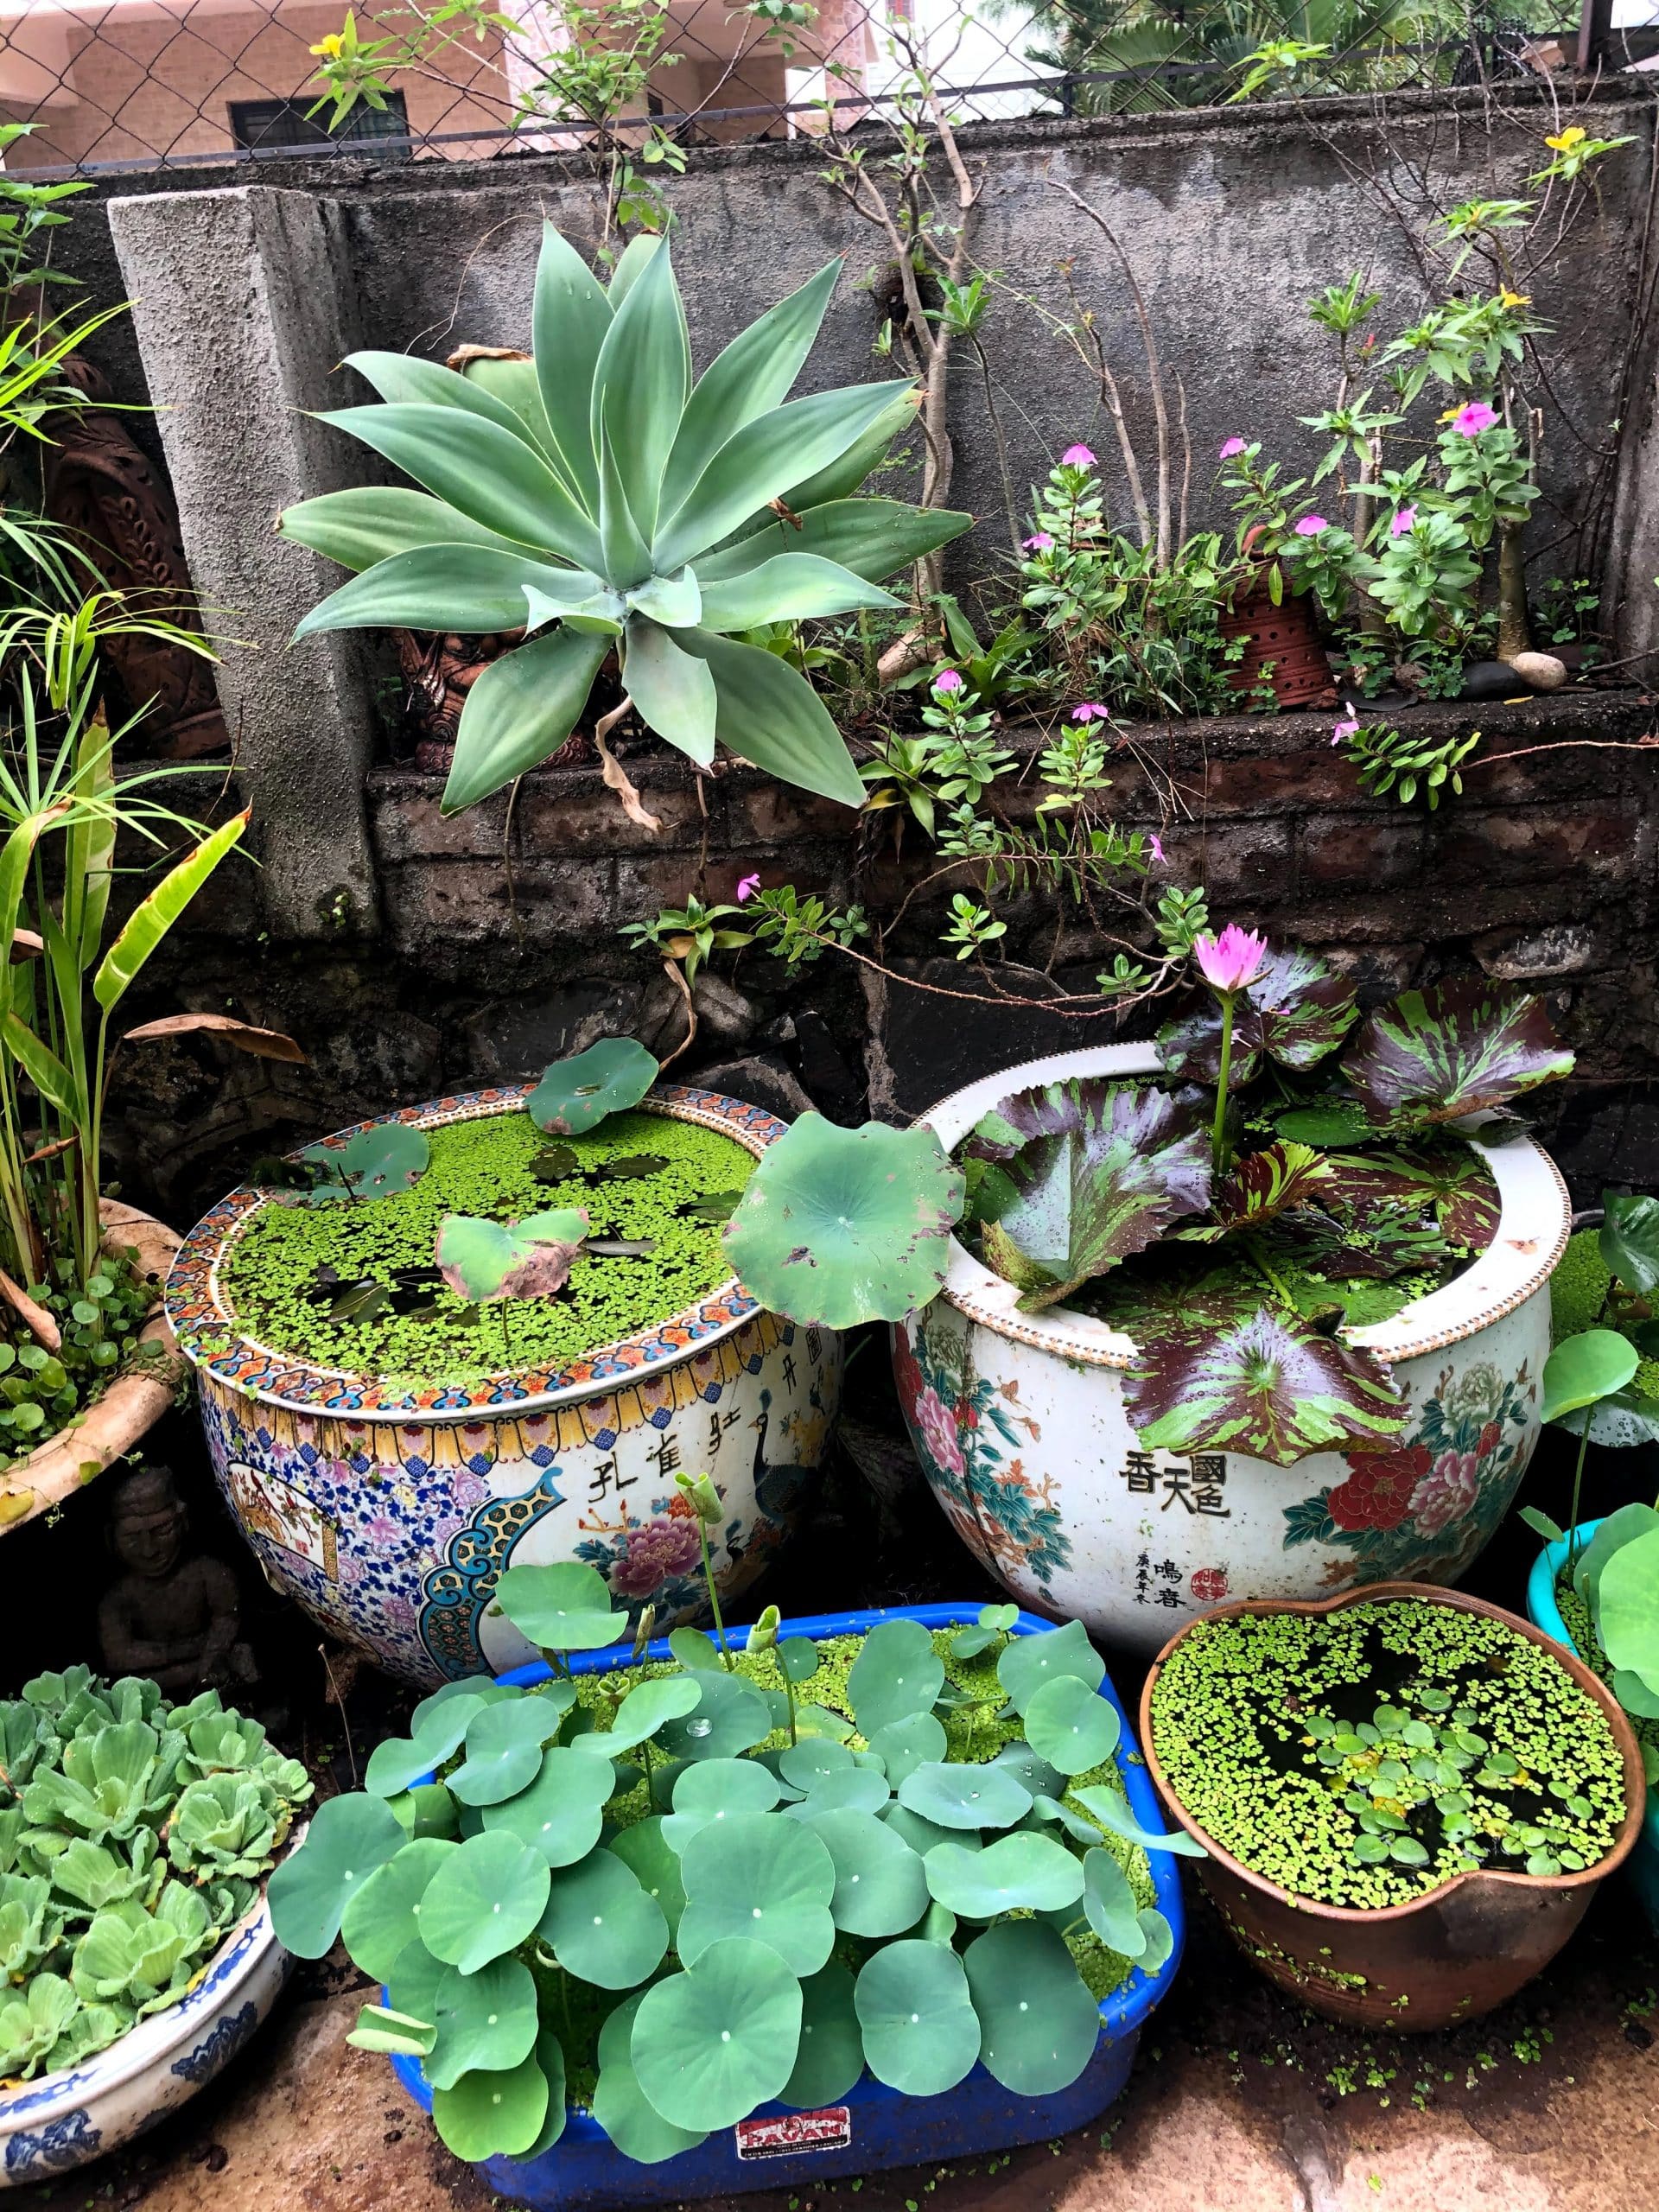
It’s simple to create a simple mini pond for your garden. A mini pond can technically be created using any vessel that will hold water and typically sits above the ground, no digging required!
Some people use large planter pots, others use prefabricated above ground pond kits. Today, we will cover a simple and cheap DIY pond that can be made with only a few easy to find parts and pieces. Let’s begin!
What materials do you need?
- large container
- Waterproof sealant
- Bricks
- Medium planting baskets
- Aquatic compost
- Assorted aquatic plants
- Oxygenating plants
- Washed pea gravel
- Large feature stone, a little taller than the height of the container
How To Make A DIY Mini Pond?
Step One
Clean your chosen container thoroughly and seal any drainage holes with silicone. Place the bricks around the container’s edges, ready to raise the plants to the right level. If you’re using a shallower container, you may not need the bricks.
Step 2
Take the aquatic plants from pots. Put a layer of aquatic compost in the bottom of the planting basket and position the plants. Each basket should accommodate two or three plants.
Step 3
Fill in around the roots with more compost firmly, and then water thoroughly to settle the compost. Top it off with a layer of pea gravel across the surface. Plant each of the baskets this way.
Step 4
Fill the container two-thirds with water. Carefully lower the baskets into the water, standing them on the bricks. If you’re viewing the pond from one direction, place the taller plants at the back; if viewing it from all sides, place in the center.
Step 5
When you’re happy with the placement of the plants, top up the level of the water to around 2cm – 3cm below the rim of the container. Adding a stone to the pond that just breaks the surface of the water.